Tag Archives: Lightroom

Storage & Clutter

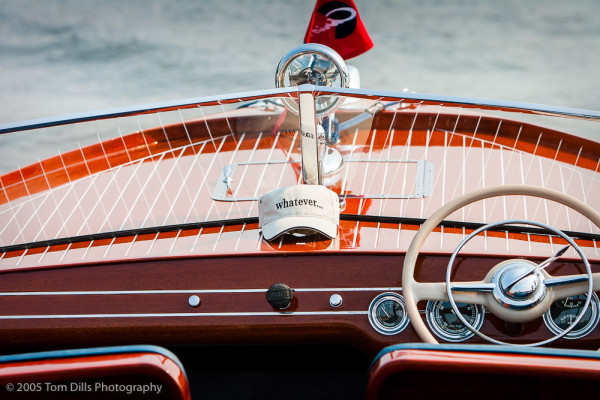
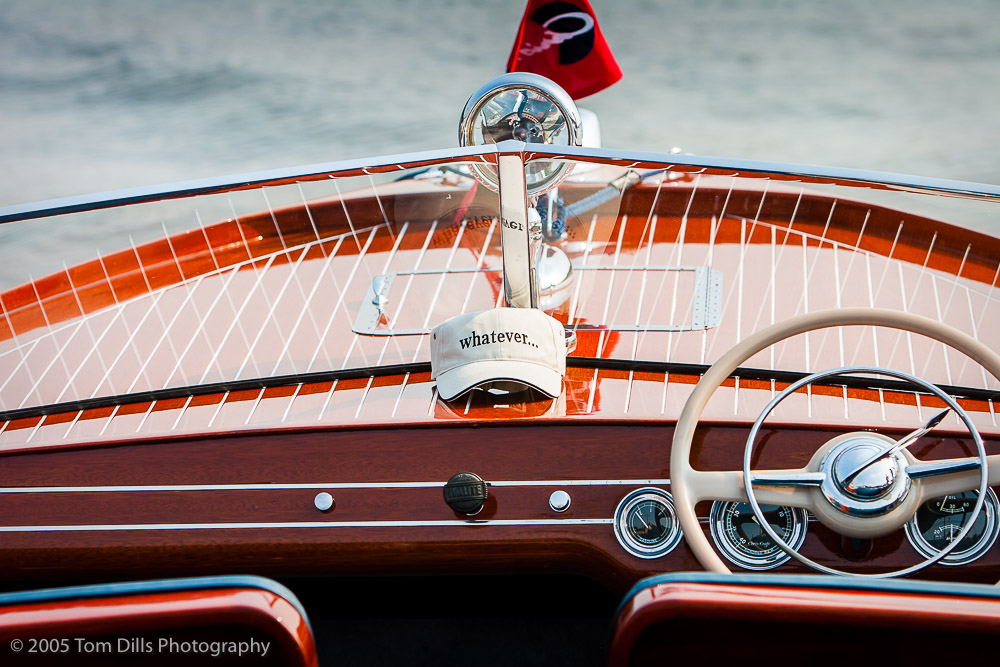
Classic Boats at the Lake Norman Classic Boat Show, Queens Landing, Mooresville, NC

Few things get on my nerves more than clutter. A messy desk, a disorganized garage, an overloaded closet – those are things that just drive me crazy. Now I’m not the most organized person in the world – Kathy would probably suggest that my head is probably the least organized thing on the planet, but that’s another post! But I can’t stand to make room for stuff I don’t use. Or worse, have to have extra storage for stuff because I’ve run out of room for all that stuff I don’t need.
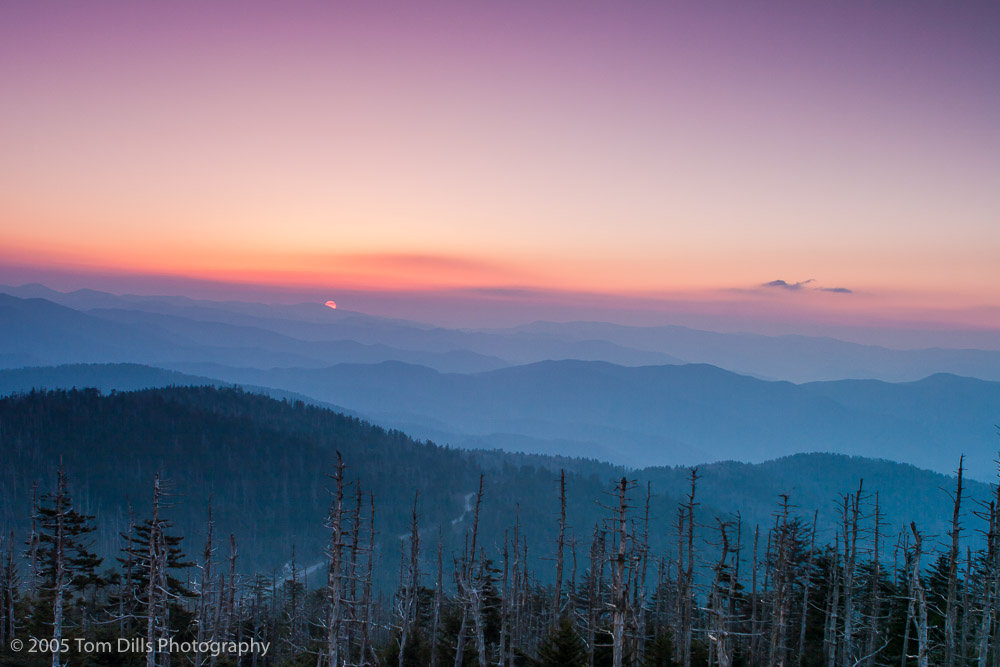
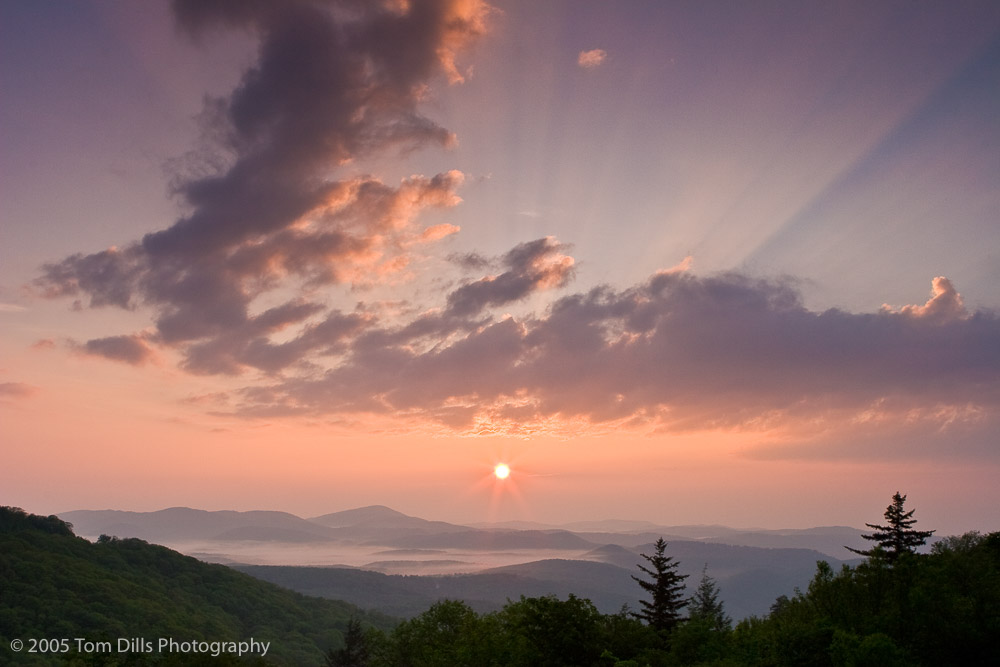
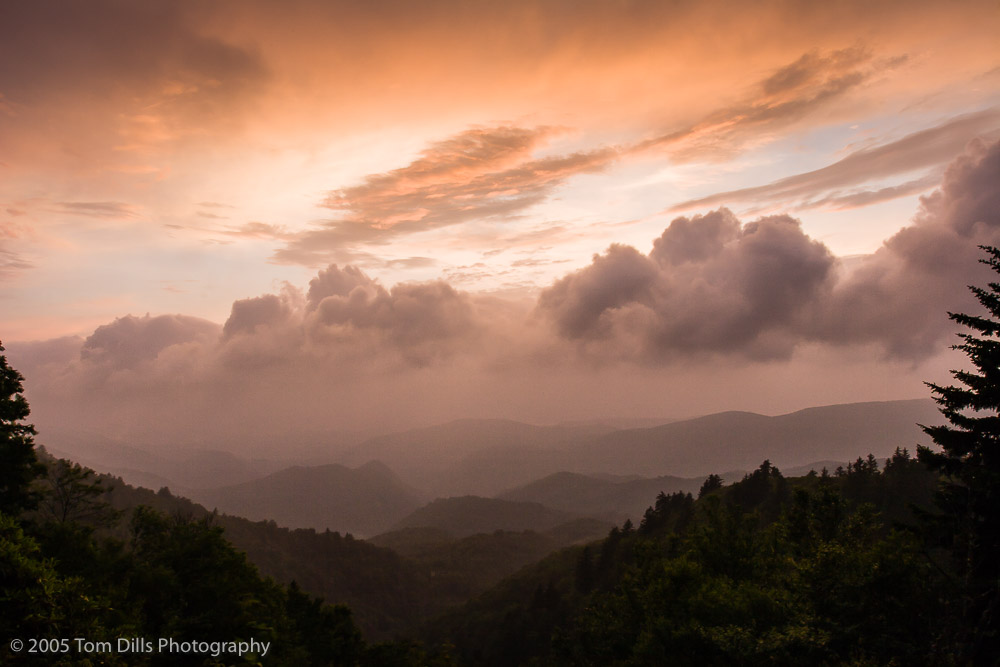
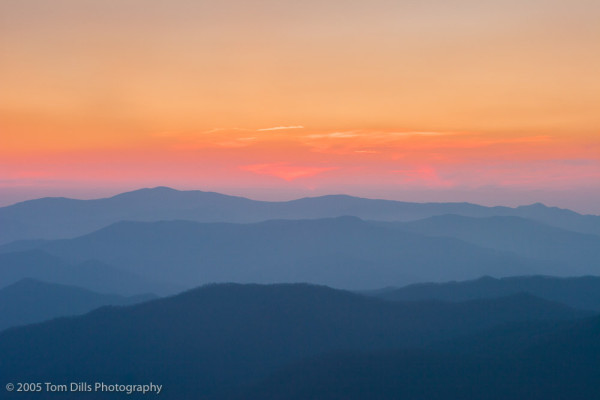
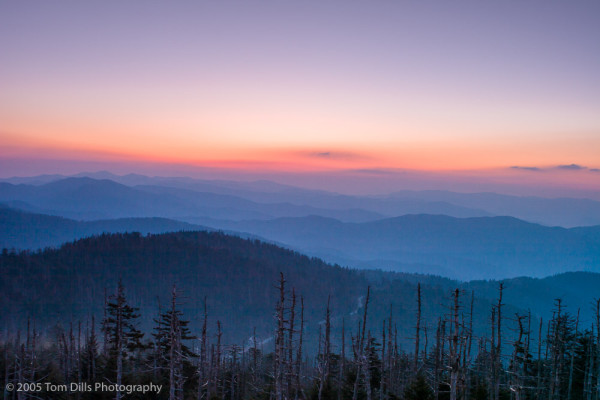
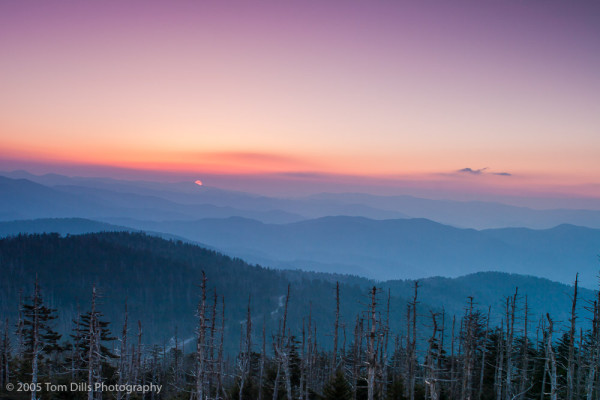
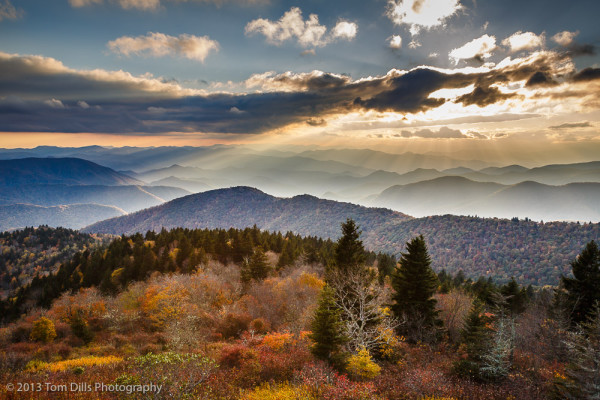
Sunrise from Clingmans Dome, Great Smoky Mountains National Park, NC
Sunrise from the Blue Ridge Parkway near Green Mountain Overlook near Boone, NC

When I started in digital photography, I applied this desire for order to my workflow. I have a very structured, well-organized and repeatable method for keeping track of my files and backing them up. That way I always know where I stand on my organization, editing and processing. Part of that workflow has been that I never delete files. I remove unused files from my Lightroom catalog but leave them on my hard drive, with the idea that storage is cheap and that it was better to have them than to delete them.
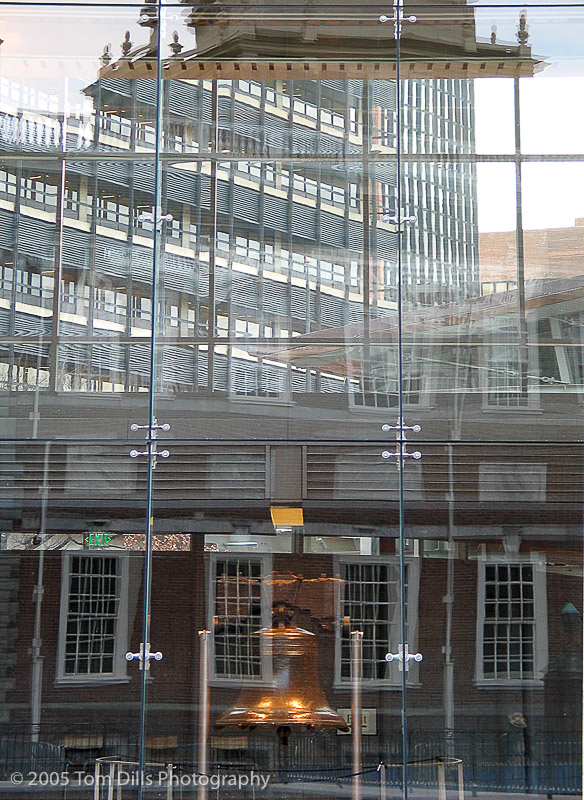
Liberty Bell and independence Hall, Independence Square, Philadelphia, PA
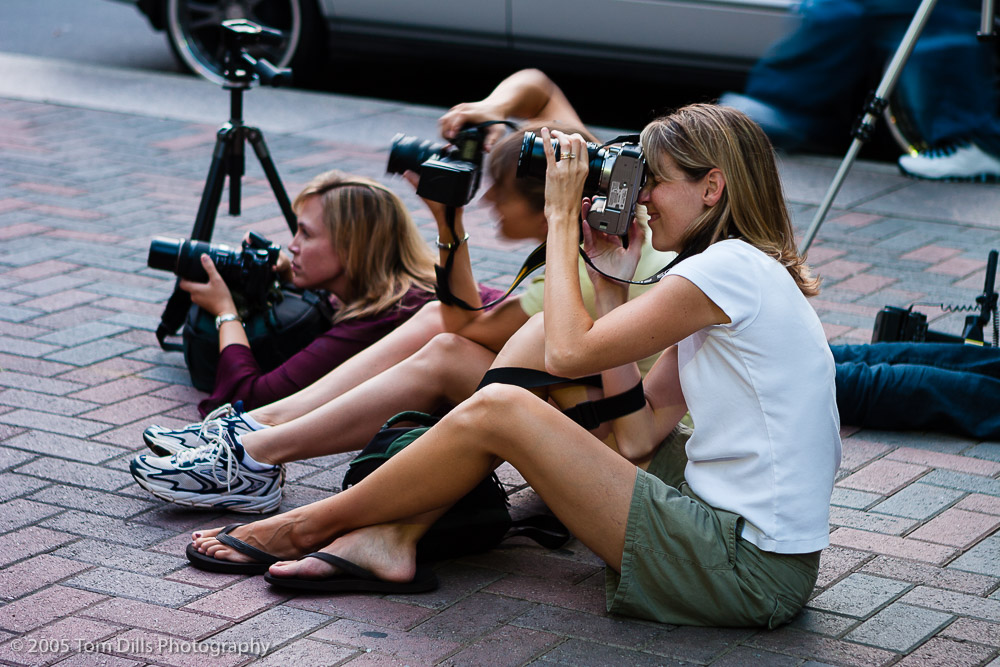
May 2005 Photo Class with Emilie Knight in Uptown Charlotte

I currently store all my photos on a 2TB hard drive in my computer. That is not much by many peoples’ standards, but because I don’t create huge files in Photoshop and don’t have a 50 megapixel camera, I figured that 2TB would last me a long time.  Lately I’ve approached the limit on those drives, and knew that it was probably time to do something about it. I started looking at upgrading to larger drives, but while storage is relatively inexpensive, I have a total of 4 drives, two internal drives (main+backup) plus two external drives (onsite+offsite). I haven’t yet sprung for cloud storage. I don’t completely trust it and would never use it as my only backup, so as long as I need to have physical backups anyway, I didn’t think there was much point in also having cloud backup. Plus, there are lenses…. 😉
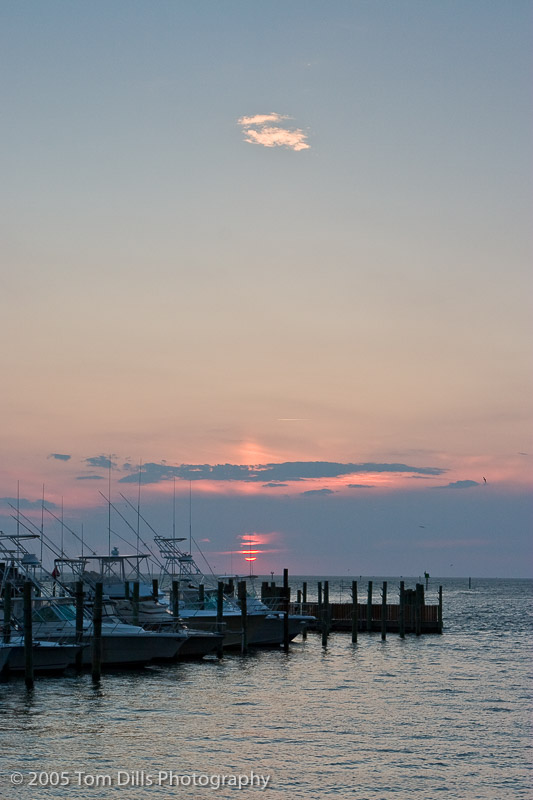
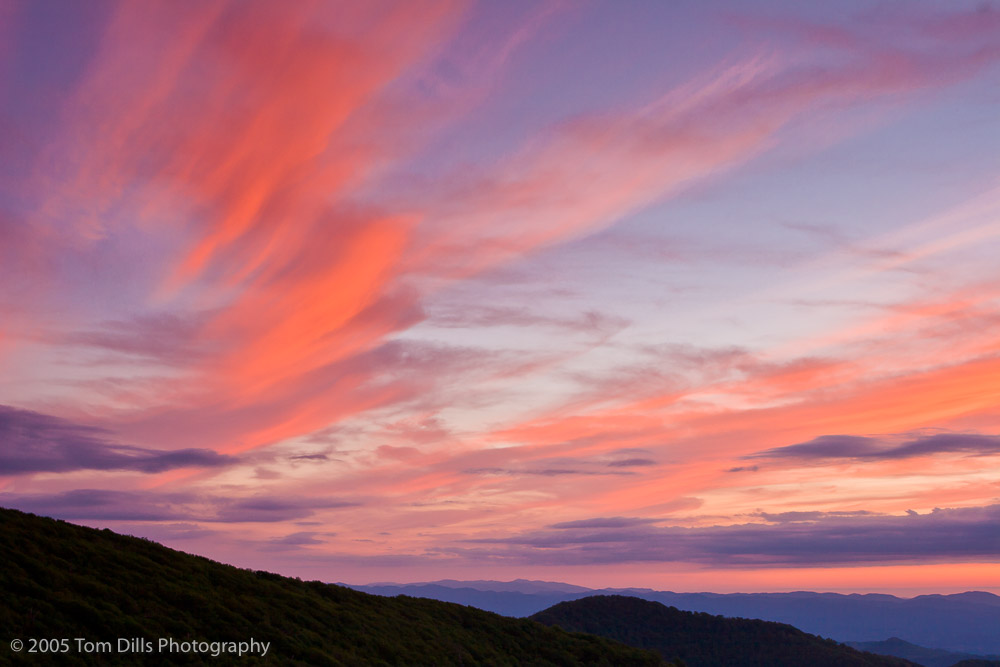
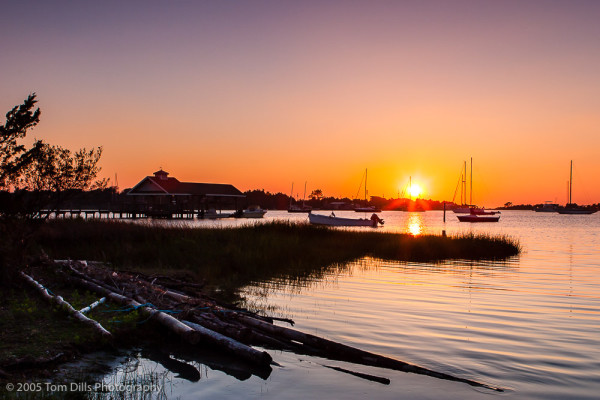
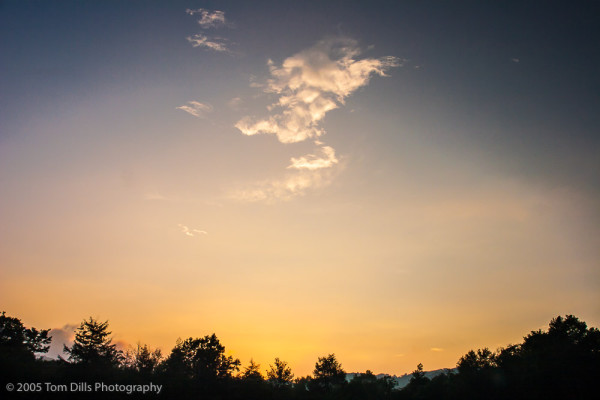
Sunset at Hatteras Harbor Marina, Hatteras Village, NC
Sunset from Craggy Gardens Visitor Center, Blue Ridge Parkway, North Carolina
Sunset, Woolyback Overlook, Blue Ridge Parkway, NC

One of the things I started thinking about was that there are a bunch of files on those hard drives that are no longer in my Lightroom catalog, files that I’ve already decided aren’t worth keeping and that I could get rid of. I have no idea how many, because by looking at the files in Finder there isn’t any really good way of telling which files are in the Lightroom catalog and which ones are not. I originally toyed with the idea of just exporting the existing catalog to a new drive, or erasing one of the existing drives for the purpose. But part of me wanted to look at those old files “one last time” to make sure I wasn’t getting rid of any hidden treasures. So as long as I wanted to be able to do that I came up with what I think is a workable solution.
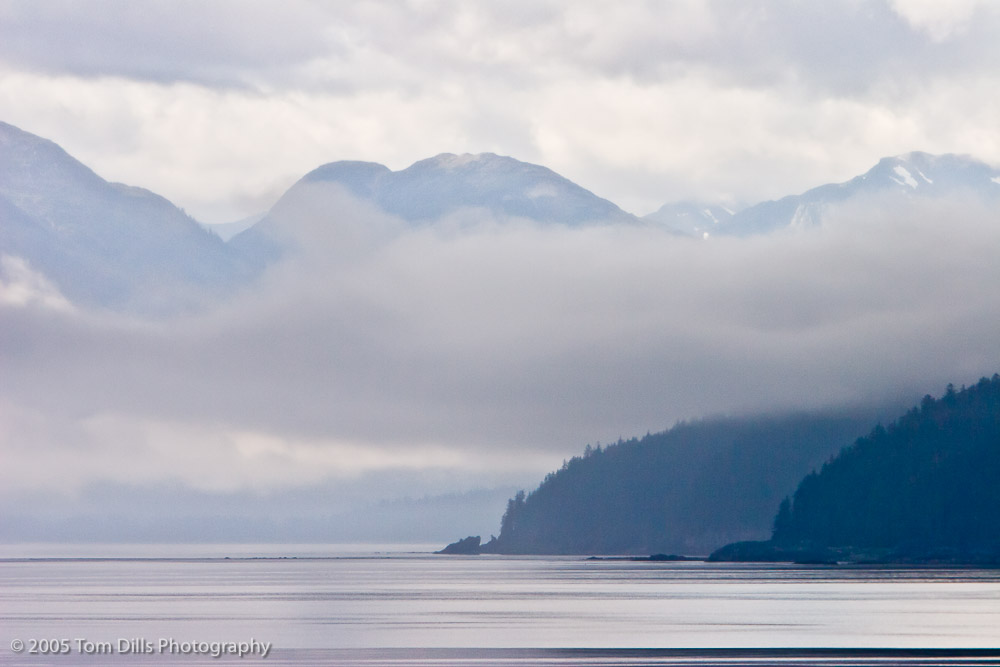
Fog Rising from the Bay, Glacier Bay National Park and Preserve, Alaska
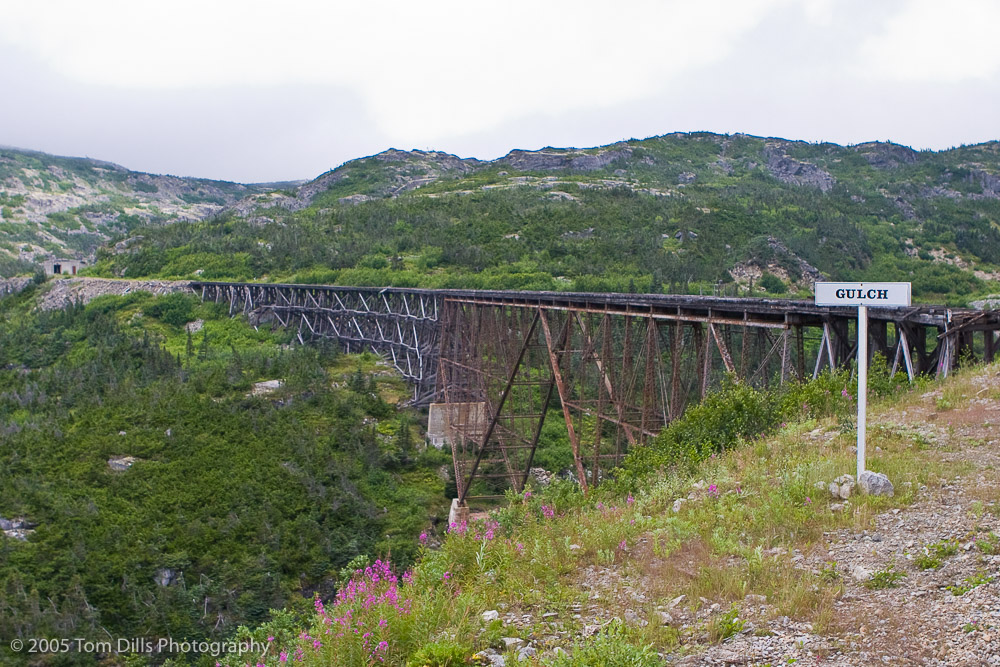
White Pass & Yukon Scenic Railway, Skagway, Alaska

What I have done is to use Lightroom’s Import function to “re-import” all those files into the Lightroom catalog. They are already in folders – the same folders that all of the “keepers” are in, so all I have to do is import them in their current position. I started about a week ago and have been importing them a year at a time. By going year-by-year, and folder-by-folder within each year, I’m keeping it at a manageable amount and am not moving or deleting files until I’ve looked at them. In the event that I come across files I want to keep – and I’ve found a few – it is very easy to put them aside so they don’t get lost.
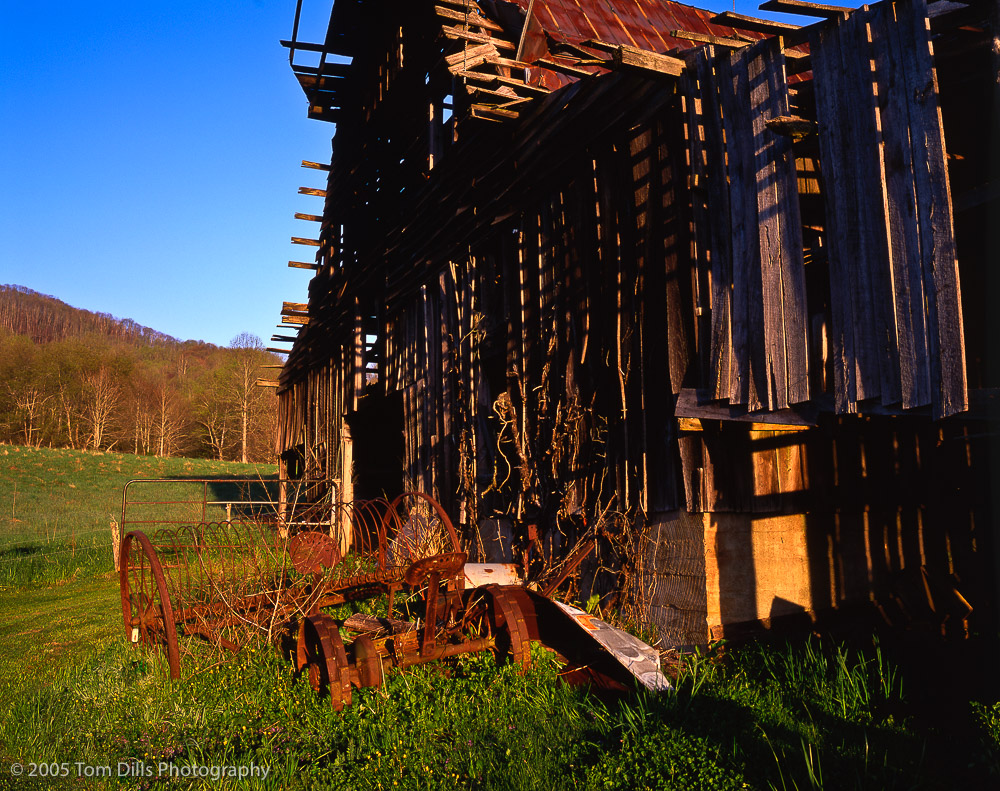
Old Barn near Lake Junaluska, NC

I’ve gotten through 2004-2008 so far – admittedly not heavy years filewise since I had just started in digital and was still shooting some film. I forgot to track the number of files and amount of storage for the first two years, but am keeping track now and should be able to have a pretty good estimate when I’m done. Right now between 2004, 2005, 2006, 2007 & 2008 it looks like I’m at about 23,000 files deleted and about 236GB freed up. The folders seem to be getting bigger the farther I go, so it will be interesting to see how those numbers increase as I continue.

February 2005 trip to Amelia Island, Florida

This is pretty geeky stuff and I can’t imagine anyone reading this post will care about more detail, but if anyone wants additional detail I’ll be happy to answer questions or emails. But it won’t bother me if no one asks! In the meantime I’ve thrown in some photos from 2005 for your viewing pleasure. It seems I photographed a lot of sunrises and sunsets back then!

Streamlining The Process

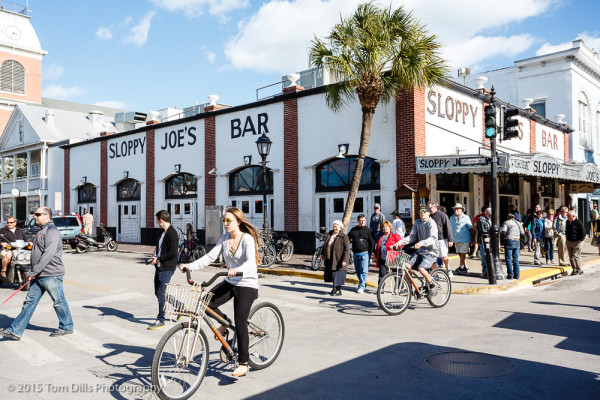
Sloppy Joe's Bar in Key West, Florida
Sloppy Joe’s Bar in Key West, Florida

Ever since I started using Lightroom to process and manage my photos, I have continuously updated and improved my workflow. I’ve used my workflow as the basis for teaching Lightroom classes, individual tutoring and consulting. I carefully devised a workflow that suits my needs, primarily of organizing and identifying my photos, as well as using the various tools such as Pick flags, color labels and star ratings to tell me exactly where in the process a given photo or group of photos was.

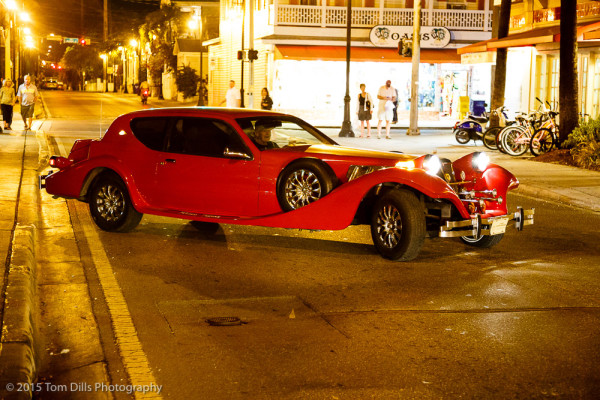
Nightlife on Duval Street in Key West, Florida


Something for everyone in Key West, Florida

As efficient as my workflow has been, one of the big downsides is that I was spending a lot of time in the Develop module for each of my photos, even those that were mostly “snapshots” and would probably never be printed or posted on my website. What eventually happened was that I only had a small percentage of photos that were marked as “finished” and had thousands of photos that had not been processed. These files are ones that I had marked with a Pick flag – meaning that I thought there was some merit to the photo that warranted further processing. And that backlog was getting larger and larger, to the point where I thought I would never get them caught up.

Scenery, Key West, Florida

Part of my workflow over the years has been to create a group of Develop presets to apply to these photos when I import them from my card. I have a set of presets that take care of 90-95% (or more) of the work I do on a photo. But as good as these presets are, they won’t address things like dust spots and crooked horizons, so I would still go in and spend countless hours tweaking and fine-tuning all of those photos, regardless of whether or not they will ever see life beyond my hard drive.

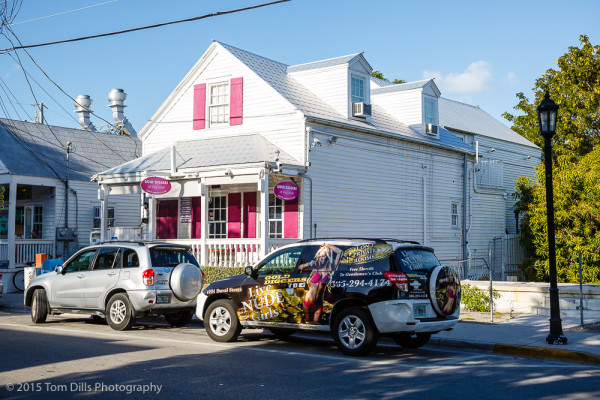
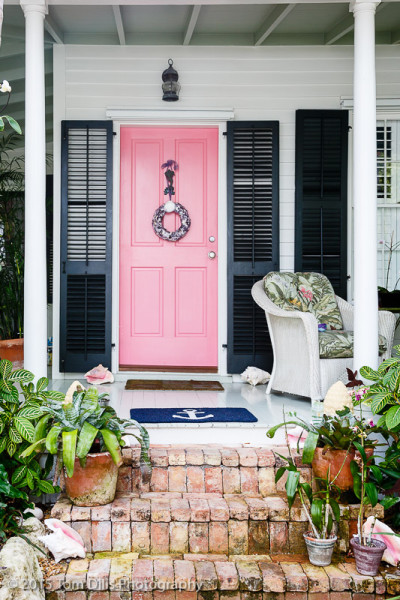
Front porch, Key West, Florida


Ernest Hemingway House, Key West, Florida

One of the many lessons from my recent experience with dipping my toe into the mirrorless camera pool is the realization that the files from the Fuji X-T1 hardly needed any follow up tweaking. I was so impressed with the files right out of the camera that in many cases I didn’t do a thing to them, and anything I did do was purely aesthetic, or “because I could.” It was playing around with the files from that camera that made me take another look at my regular workflow and realize that the files from my Canon cameras were also really good, but that I had gotten myself in the habit of working with all of them that I had lost sight of the fact that all that extra work wasn’t really doing anything significant toward improving the photographs, but it was taking an enormous amount of time!
Key West, Florida
Key West, Florida

I have had a really difficult time letting go of the idea that every photo had to be “completely done” before I marked it as done. Since most of my files never go beyond my own computer, it’s been my own personal hang-up, and I decided that if I wanted to change it I could, so I did. For the last month or so I have been trying really hard to “trust the Force” and let the presets do their work. I still review each individual file for level horizons, dust spots or other things, but have been working really hard to only make those few corrections and to – as much as possible – leave my hands off of those other controls. So far it has worked pretty well. I can get through a lot more photos at one time, and the extra efficiency leaves me the discretion to spend more time with a particular photo or group of photos when I want to. And gradually my backlog is starting to recede, and that is a really good feeling.

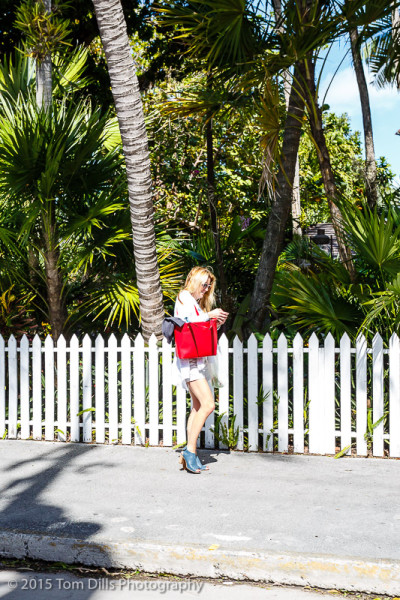
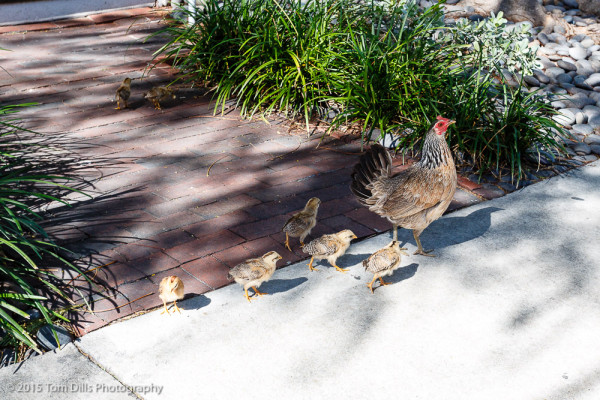
Mom & the Kids, Key West, Florida

In an upcoming post I will talk about some of the benefits of processing old photos with the new software and will show some examples. Sorry, but that will have to wait while I work on some more photos!

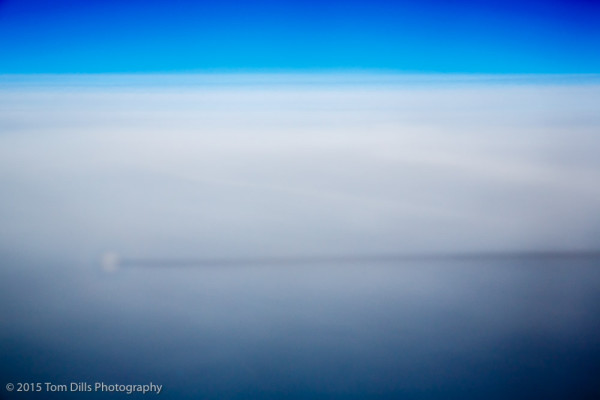
Shadow of our plane and contrail on the clouds during our flight from Key West to Charlotte

Looking Back – 2005

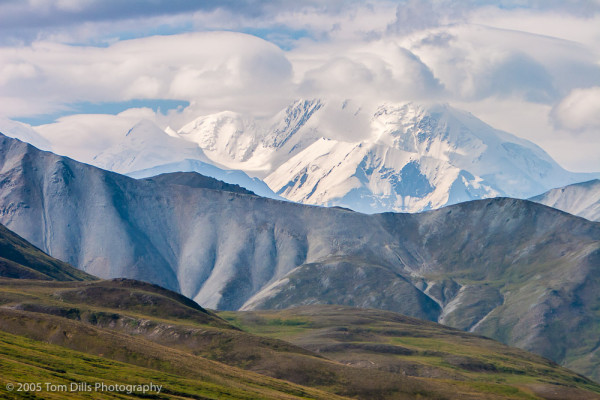
Mount McKinley from Stony Hill Overlook-Denali National Park & Preserve, Alaska

I’ve recently begun a project to go back and “finish” processing photos from prior years that I never got around to finishing. These are photos that I had marked as “Picks” but for many reasons just never took the time to finish. It’s been an interesting project so far, and there have been a few photos that, now that I have gone back and looked at them again, are ones that I wonder how I overlooked.

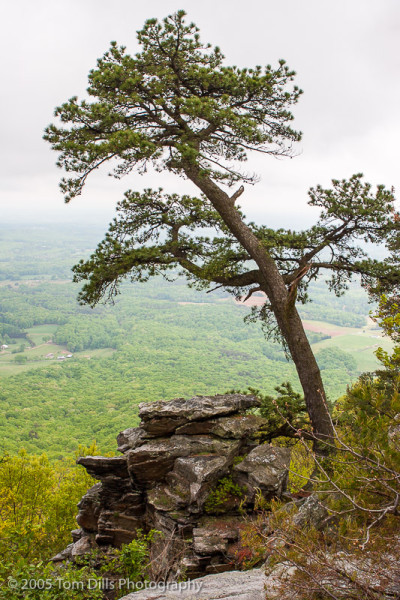
Tree and rocks, Pilot Mountain State Park, North Carolina

I’ll write about the details in a future post, but my Lightroom catalog contained more than 8,000 photos that had Pick flags but had not been processed.  That number is miniscule by many people’s standards, but it has been a huge personal monkey on my back for a long time, so I decided to do something about it.  I finished 2011, then decided to go back to the Beginning of Time. So far I’ve completed 2005 and the number is now down to 6,700.  Woo-Hoo! 😉

Sunset from Waterrock Knob, Blue Ridge Parkway, NC


Sunrise from Clingmans Dome, Great Smoky Mountains National Park, NC


Sunrise from Clingmans Dome, Great Smoky Mountains National Park, NC

2005 was a good year. I purchased my first digital SLR, a Canon 20D along with a few lenses in April that year. We traveled to the Smokies early that year, and I have a few decent photos from there and spots along the Blue Ridge Parkway.

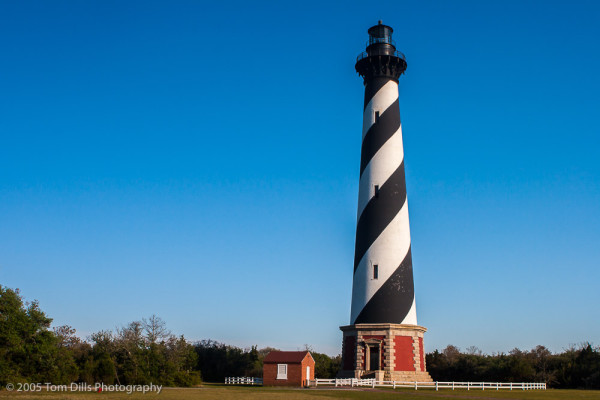
Cape Hatteras Lighthouse, Cape Hatteras National Seashore, NC


Sand Ripples near the Former Coast Guard station, now abandoned, Pea Island near Oregon Inlet, North Carolina


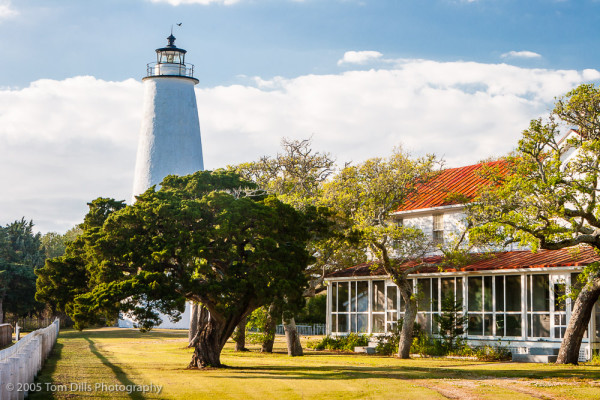
Ocracoke Lighthouse, Ocracoke Island, North Carolina


Silver Lake Harbor, Ocracoke Island, North Carolina


Sunset over Silver Lake, Ocracoke Island, NC


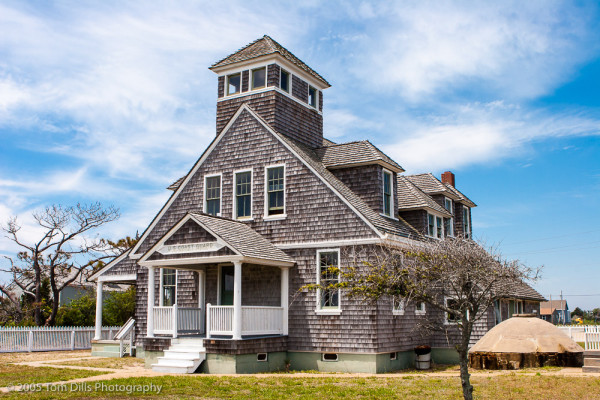
Chicamacomico Lifesaving Station, Rodanthe, North Carolina

In May we headed to the Outer Banks of North Carolina for a week. We also spent some time in the mountains later in the month.

Sunrise at Cone Manor, Julian Price Memorial Park, Blue Ridge Parkway, North Carolina


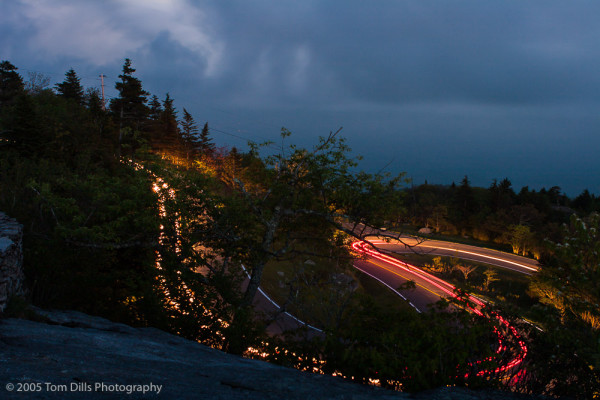
Car lights leave a trail on the descent from Grandfather Mountain, North Carolina


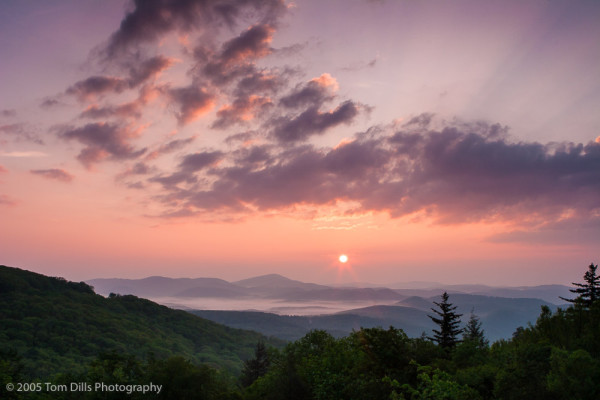
Sunrise from the Blue Ridge Parkway near Green Mountain Overlook near Boone, NC


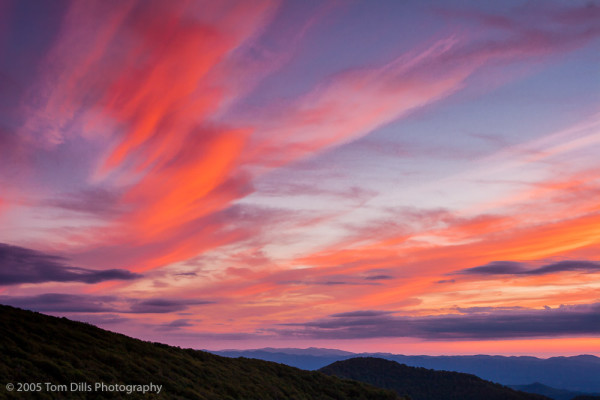
Sunset from Craggy Gardens Visitor Center, Blue Ridge Parkway, North Carolina

In July we took the first of our two trips to Alaska, this one to celebrate our 25th anniversary. That was a Really Big Deal, and I brought back a few decent photographs.

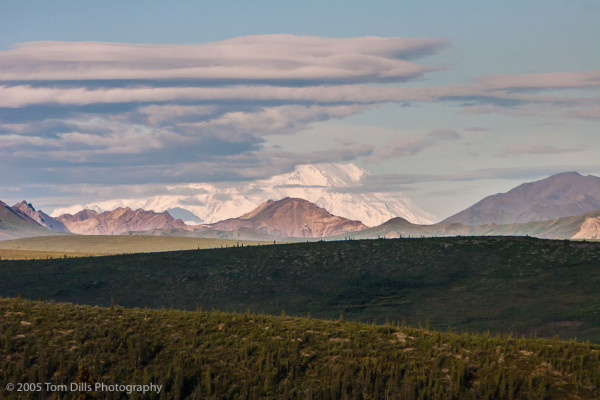
Mount McKinley-Alaska Railroad from Anchorage to Denali National Park, Alaska


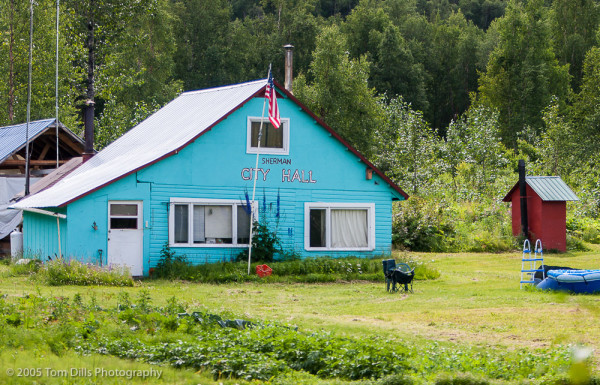
Sherman City Hall-Alaska Railroad from Anchorage to Denali National Park, Alaska


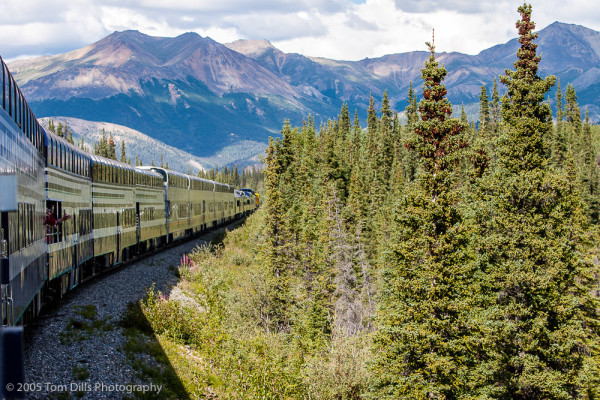
Alaska Railroad from Anchorage to Denali National Park, Alaska


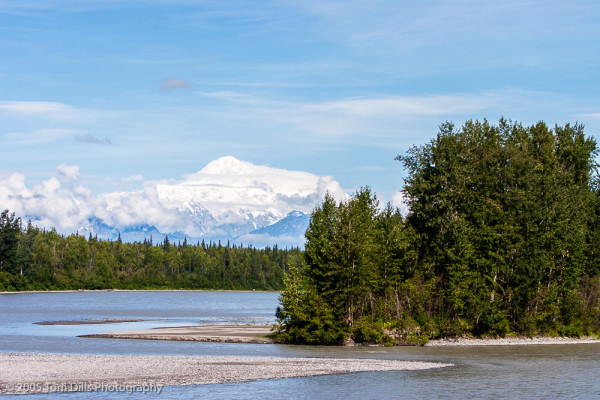
Mount McKinley from Stony Hill Overlook-Denali National Park & Preserve, Alaska


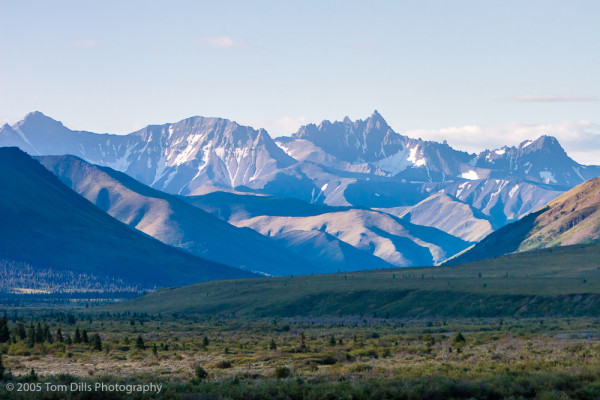
Alaska Range-Denali National Park & Preserve, Alaska


Mount McKinley from Stony Hill Overlook-Denali National Park & Preserve, Alaska


No Self Service
No Self Service


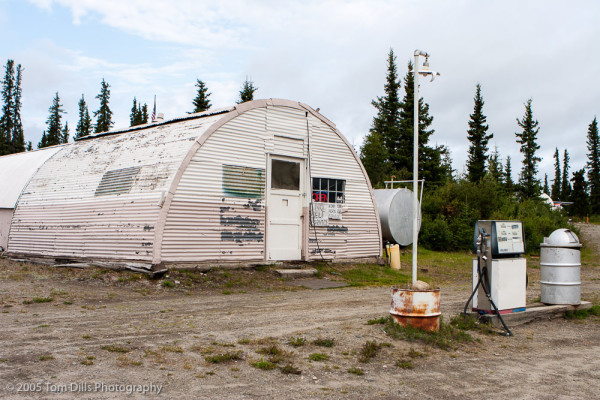
Gracious House Lodge and Flying Service, Denali Highway, Cantwell, Alaska


Wrangell St Elias National Park near Copper Center, Alaska


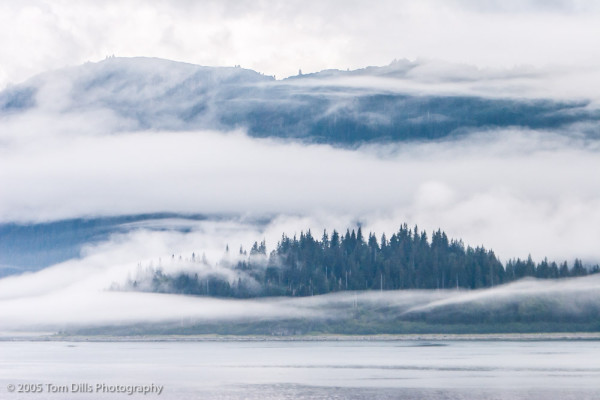
Fog Rising from the Bay, Glacier Bay National Park and Preserve, Alaska

After that it was back to North Carolina, mostly the mountains in the fall, a cruise and that was about it. It was a fairly “light” year as far as photos are concerned, and my Lightroom catalog for 2005 now contains only 755 photos. I was still shooting film then, and there are about 90 scanned slides in a different folder. Chances are if I ever decide to use any of those they will need to be rescanned, since I don’t think they are up to today’s standards. Plus, the more I work with digital files the less I want to work with the old film scans.

Moon Over Price Lake at Sunrise, Blue Ridge Parkway, NC

My conclusion after looking at all these files is that I was still a very “subject oriented” photographer back then. I made a lot of documentary shots, with a few of them showing signs of what I feel I am looking at today. Considering that I was just learning digital photography and really just getting started in photography in general, it shows that I still had a lot to learn but had a pretty decent start.

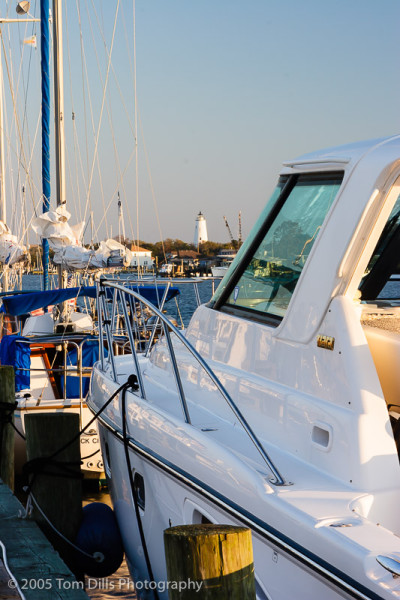
Classic Boats at the Lake Norman Classic Boat Show, Queens Landing, Mooresville, NC

A Question of Style


Sunset at Cowee Mountains Overlook, Blue Ridge Parkway MP 430

Generally when I am in the process of taking a photograph, I have a basic idea what it is going to look like when I am finished processing it.  When I’m sitting at the computer working on an image, it just sort of “develops itself.”  Most of the time the direction I need to go with an becomes pretty clear to me. I open up an image in Lightroom, work on it a bit, and after a few basic tweaks it is pretty much done.  Unless I’m going to make a print, there isn’t a whole lot more I do.

This particular photograph has me a little perplexed. I processed it exactly how I expected to. It’s a little more processed than usual, but there’s quite a lot of dynamic range going on here. But for some reason, I just can’t seem to get comfortable with it.  There’s nothing really “wrong” with it, in fact a lot of people would probably wish that they had taken it themselves.  But for some reason I am struggling with it.

It’s a typical Cowee Mountains Overlook sunset.  It’s got a nice sky, detail in the foreground, and there’s a lot going on.  Too much, I think.  It is a very “busy” image, as opposed to a lot of my photographs that are a bit more simplified.  I’ve definitely processed it a lot more than I usually process an image.  Maybe that’s it, I’m not sure.

I think the thing that I keep coming back to is that it doesn’t seem like it’s mine.  It’s the sort of landscape photograph that I’ve taken for years, but I just can’t seem to connect with this one. No, I didn’t switch memory cards with someone by mistake, but it’s just such a departure from the type of photography I’ve been doing recently that I may just have to spend some time with it to figure it out.  In the mean time, it just doesn’t feel like my style, and I find that interesting.

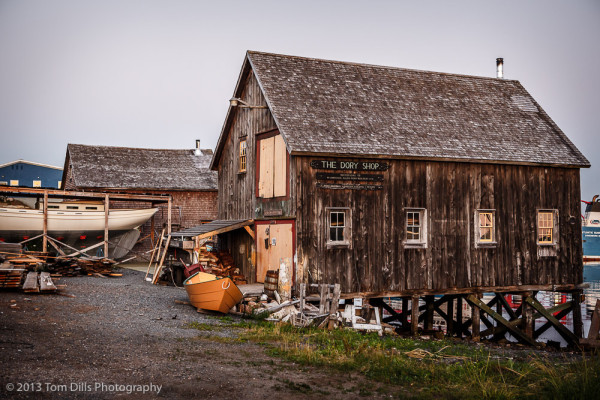
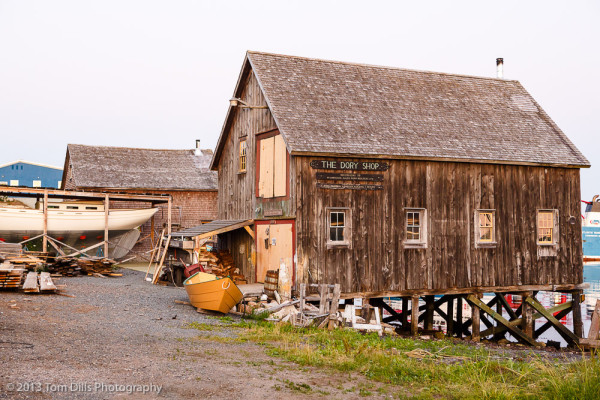
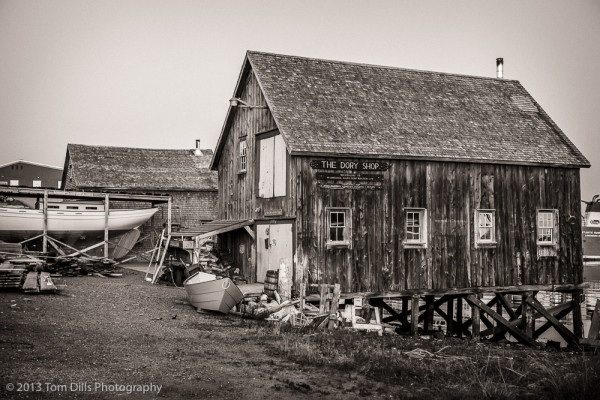
The Dory Shop

Color version that I'm pretty happy with. Lunenburg, Nova Scotia
Color version that I’m pretty happy with. Lunenburg, Nova Scotia

I’m still not convinced that this is the successful photograph I thought it would be when I made the frames, but I’ve enjoyed working on this one.  I originally envisioned a high-contrast, low-saturation photo and thought it might work in monochrome, but (a) I think I’ll always be a color sort of guy, (b) I never did get the hang of what a black & white photo is “supposed” to look like, and (c) I might not be working on a good enough example.  Hard to say.

Black & white version that I think looks pretty close to what I visualized.

I think it’s a pretty interesting scene.  It’s a little cluttered, but I feel it has good balance and good light.  In the post sunset twilight I was trying to capture an old-timey look that would suggest a vintage photograph, although not necessarily black & white, rather than one taken with a new-fangled digital camera.

My mostly unadjusted original.


Hidden Treasures

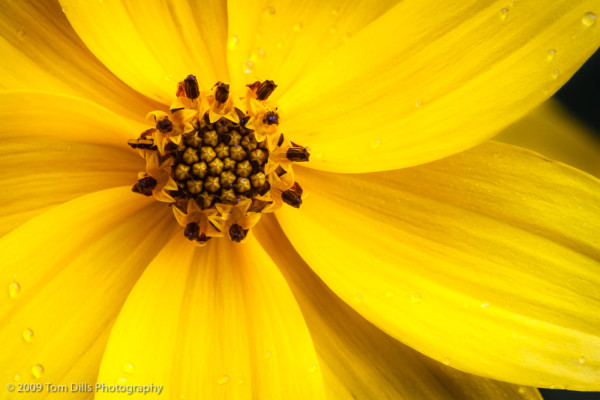
Bearded Beggarticks (Bidens aristosa) along the Torrence Creek Greenway in Huntersville, North Carolina

I recently sold a couple of prints to a repeat customer, and before I made the prints I went back over the files, as I often do, and made a few tweaks to take advantage of a more recent version of Lightroom than I used when I originally processed the photos a few years ago.  As I was going through my library, specifically the folder where one of those prints resides, I went back and looked at some of the other photos in that folder.  As often happens, a number of my “picks” for that day hadn’t been processed, and I was playing around to see what some of them might look like processed.  I came across this version that I think I like even better than the first.  It is a different flower, but the composition and the lighting make it a bit more dramatic than my original favorite.  I made a small print of this one, but think I may have to go a little larger and make one to hang on the wall.

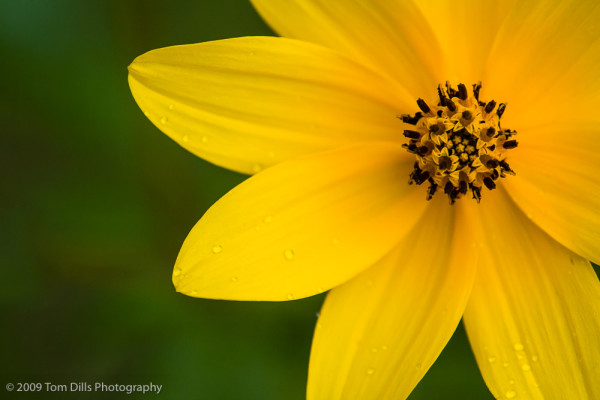
My “former favorite” is below.  I’ll be interested in thoughts on how the two compare.

Bearded Beggarticks (Bidens aristosa) along the Torrence Creek Greenway in Huntersville, North Carolina

Another Example

Image processed in Lightroom from a single “-2 EV” RAW file

On my previous post, Monte asked about how the HDR version of that image came out, and as it turned out I didn’t do an HDR series on that particular photo so I didn’t have anything to compare.  Just for kicks though, I went back and found an image where I did do a bracketed series including an in-camera HDR file.

HDR Image from 3 bracketed frames, blended in Photoshop and finished in Lightroom

Most of my readers know that I really dislike futzing around in Photoshop, so I probably didn’t do the HDR version justice.  But while there are things I like about it, I’m really a fan of the contrast you get from a single file.  While the HDR version perhaps shows more “detail” I’d rather see the contrast.  Of course I’m a fan of rich, dark tones in my photos and HDR kind of defeats the purpose for me.

In-camera HDR from the same 3 frames used for the Photoshop version. Unprocessed, it’s a little dark for my taste.

I’ve made these files a little larger for those who want to pixel peep.  But please don’t criticize my Photoshop skills.  Because, especially for things like HDR, I’m really out of practice.

I hope everyone has a great Sunday!

“Let’s See What She’ll Do”

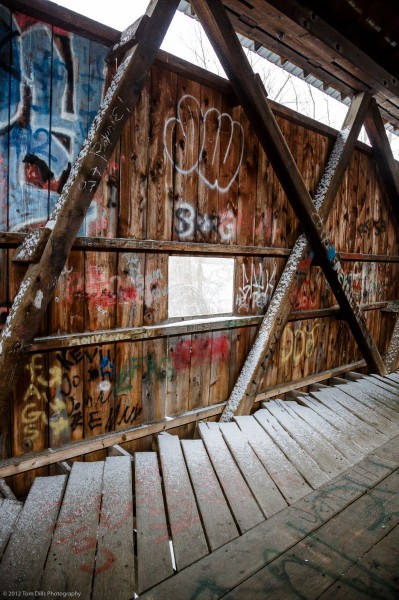
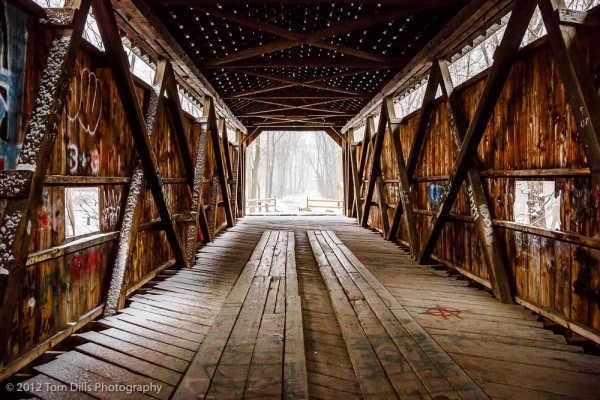
Kidd’s Mill Covered Bridge, Reynolds, PA

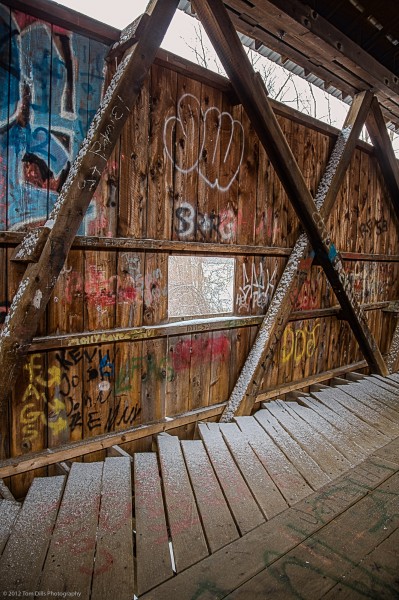
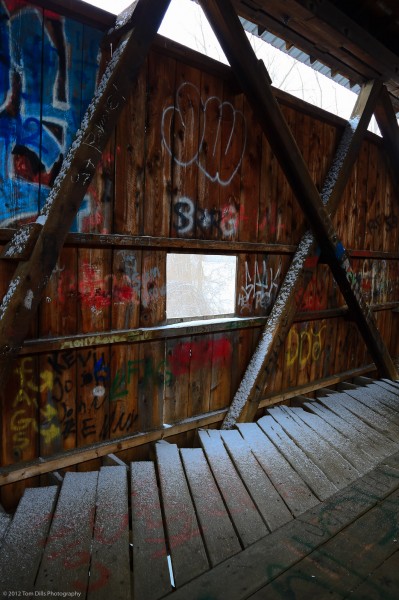
Walking around the inside this covered bridge last weekend, I knew that it was the perfect subject for some HDR.  I’m not a particular fan of HDR as a rule, but knew that this would be a good place to give it a try.  I took a series of bracketed shots using the in-camera HDR feature in my camera.  But when I got to playing with it in Lightroom, I decided to see what it looked like without actually blending the frames.  As it turns out I think that I actually like it this way.  I’ve had to make some pretty extreme exposure adjustments and it’s as noisy as my neighbor’s dog, but I think I’ve got the final result that I envisioned when I took the photo.  And ultimately, if I get the result I’m looking for it really doesn’t much matter how I get there, does it?

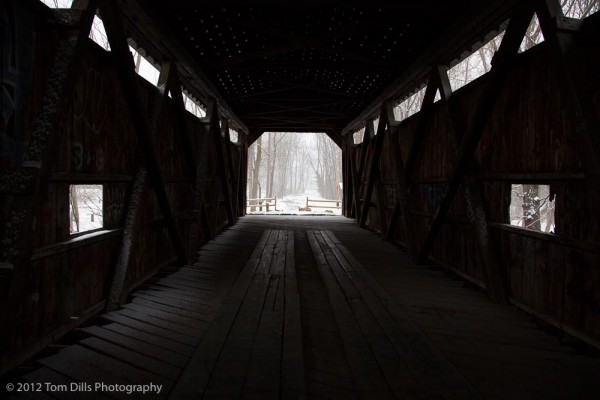
Here’s a “before” shot just to see where I started:

Kidd’s Mill Covered Bridge, Reynolds, PA

Anatomy of a Photograph – “Early Snow and Fall Color, Smokies”

Final Processed File using Lightroom 3 and Process Version 2010. Canon 5D with Canon 100-400 at 200mm 1/13 sec @ f22 ISO 200

A number of my non-photographer friends have asked me on numerous occasions why their photographs don’t look like my photographs.  And of course the sentiment I hear most often is that “I must have a really great camera.”  And I tell them, “of course I do, but I could make the photographs I make with just about any camera.  It all has to do with how I take the photograph, and knowing what to do with it after I take it.”

Many people incorrectly attribute this answer to mean that I am “Photoshopping” my photos, but when they do, their impression is that that means something sinister or unethical.  I try to explain that a lot of what I do is no different than what might have been done with film in a darkroom.  I just don’t have to do it with chemicals, I do it with a computer.

This article is written primarily for me to be able to point my friends to something that explains, better than I could possibly do in the lunchroom at work or at dinner in a nice restaurant, what I mean when I say that I “develop” or “process” my photos in Lightroom.  And hopefully some of my photographer friends will find this interesting and perhaps even informative.

This photograph was taken in October 2011 on one of those rare times when the fall color was just about at peak, and an early morning snowstorm came through with just about perfect timing.  An hour before this photo was taken I was sitting in my car in the parking lot at Clingman’s Dome, being buffeted by gale force winds when a snow plow driver stopped to tell me that I had better get started down because he was planning to lock the gate.  I wisely retreated to a lower elevation and found this scene.

The scene in front of me was overall pretty dark and lacking in contrast, because even though the sun was lighting up the clouds the light was pretty diffused and the sun was not shining through all that brightly.  I knew from experience that my camera would try to overexpose to bring the values closer to an average exposure.  But I also knew that the snow and clouds were on the brighter end of the scale and would cause my camera to want to under underexpose the snow and clouds.  I figured (correctly) that the two would just about balance each other out and made no adjustments to what the meter was reading.  I confirmed the exposure with the histogram after the shot.

At the time I was pretty certain that I had captured some good photographs of a pretty amazing scene, but I also knew that a great deal of post-processing would be required to obtain a final image that looked like what I “saw” while I was standing at that overlook.  When I got home and imported the files into the computer, the first thing I saw was this flat looking gray mess that some people might be tempted to toss.  But I had a plan and went to work.

Unprocessed RAW file as imported to Lightroom

The first thing I did was to adjust the white balance to warm the scene up a little.  My camera does a very good job with finding the “right” white balance, but I knew I was going to need to add some warmth to get the look I was after.  About 500 points was plenty to get what I wanted.  Next, I knew I needed to add a lot of contrast, since the snow and clouds made for a very low-contrast scene.  I ended up adding a lot of black – about 70 points (this is Process Version 2010 in Lightroom – the new adjustment tools had not been invented yet!).  Some adjustments to the mid-tones and highlights and I was starting to get somewhere!

After some basic adjustments to white balance, tone and contrast.

My next step was to add some additional color contrast by using Split-toning to cool the shadows while keeping warmth in the highlights.  This is pretty subtle but gives the scene a bit more vibrance.

After extensive use of the Adjustment Brush for localized dodging & burning, contrast and saturation

After a bunch of time spent cloning dust spots – the photo was shot at f22 – I was ready to move on to some fine tuning.  I made extensive use of the Adjustment Brush to selectively darken and lighten specific areas of the photo, added some contrast and saturation to areas that needed it, and generally “shaped” the image to direct the viewer’s eye through the scene.  A little vignetting to keep the viewer inside the frame, some tweaks to the capture sharpening and noise reduction and it’s done.  Or done for now, as I haven’t yet tried to make a print of this photo.  Doing that will undoubtedly require another round or two of adjustments once I see what it looks like on paper.  I’d also like to experiment with this image using Process Version 2012 in Lightroom 4, but when I click the button to convert it the photo turns to crap again.  So we’ll have to save that and printing for a future episode!

After some additional fine tuning and sharpening, and adding a subtle vignette.

A Little Breathing Room

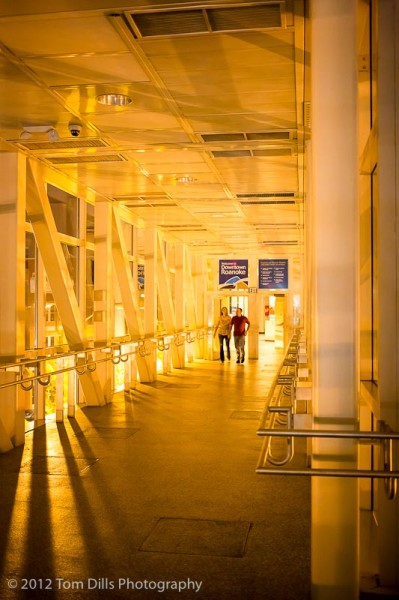
Pedestrian overpass in Roanoke, VA

I mentioned in several earlier posts that I had just about run out of hard drive space, and that coincidentally one of my three drives – the one that had been my main working hard drive for three years – had been acting weird and giving my trouble.  I switched over to one of my backup drives, relegated the old main drive to temporary backup status, and ordered new hard drives.  Exciting, huh?  Non-photographers can probably stop here…this is as good as it gets!

This past Monday I took delivery of three new 2 Terabyte Western Digital My Book Studio external hard drives to replace the 1 Terabyte drives I had been using.  It wasn’t a hard job, in fact it was remarkably easy.  But given that those drives contain all my photos from the last 8 plus years, I wanted to shut down Lightroom and stop processing photos until I was finished.  The third drive finished copying sometime this morning.  It took about 15 hours to copy the data from the old drive to each new drive, but now I have three identical copies, one that stays connected to my computer, one that lives in a cabinet in my home office, and another that lives offsite at my work office.  I then use SuperDuper! to run incremental backups on a regular basis.  I did a backup on each of the new drives just for fun, and each one took 30 seconds.  But of course nothing had changed, so that was what I expected.  No problemo.

Acquainting Lightroom with the new drive couldn’t have been simpler.  I opened up Lightroom, pointed it to the new main drive, and in seconds it was synched.  Piece-o cake-o!  Back in business and ready for a few more years worth of photos.  Hopefully another 3 or so years, but it’s hard to say.  These files are getting rather large!