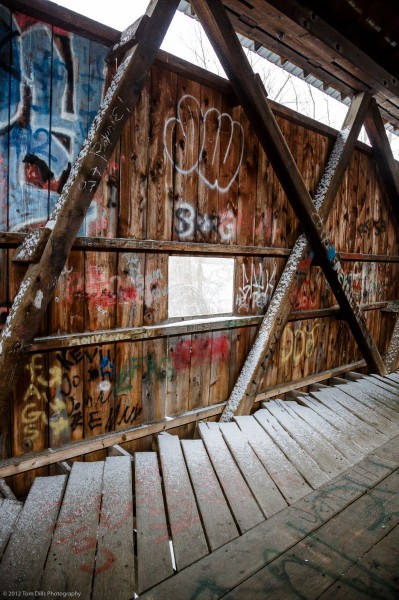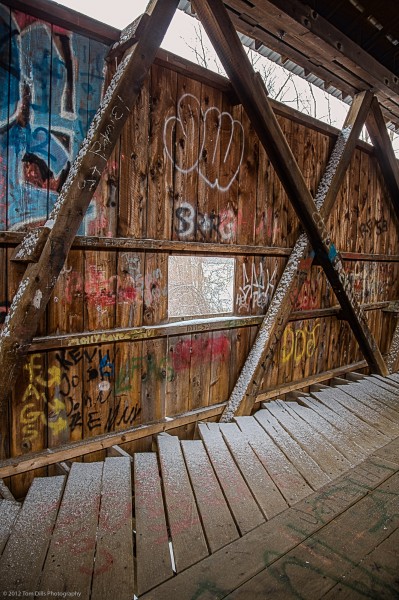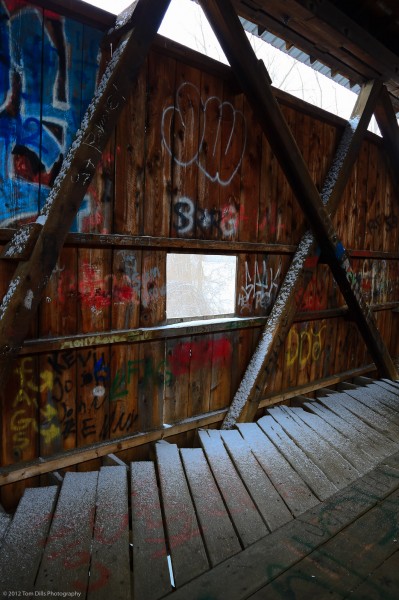
On my previous post, Monte asked about how the HDR version of that image came out, and as it turned out I didn’t do an HDR series on that particular photo so I didn’t have anything to compare. Just for kicks though, I went back and found an image where I did do a bracketed series including an in-camera HDR file.

Most of my readers know that I really dislike futzing around in Photoshop, so I probably didn’t do the HDR version justice. But while there are things I like about it, I’m really a fan of the contrast you get from a single file. While the HDR version perhaps shows more “detail” I’d rather see the contrast. Of course I’m a fan of rich, dark tones in my photos and HDR kind of defeats the purpose for me.

I’ve made these files a little larger for those who want to pixel peep. But please don’t criticize my Photoshop skills. Because, especially for things like HDR, I’m really out of practice.
I hope everyone has a great Sunday!

I am not impressed with the in-camera HDR image but there is a lot of similarities in the other two images. Definitely more contrast in the first image but more details in the highlights in the second. It comes down to what tweaks each of us. I like the idea of HDR and know photographers who use it wisely and some who don’t. I also find it does not hurt me when shooting a scene with high contrast range to bracket it. Even if I do not convert a series of images to HDR I have a variety of images to choose from for editing. I also am very impressed with the ability of LR4 to pull out details in the shadows. Thanks, Tom.
I probably could have gotten the two versions looking closer to the same, but that wasn’t my goal and I didn’t want to spend a lot of time on it. It’s good to know what the equipment can do, though. I may have to try it some more.
A few more details in the second version but it doesn’t offer a great deal over the first photo from LR only. Use to be Photoshop was a must have…it’s becoming optional these days as they add more features and control to LR. The third image is a little dark for my taste as well.
I used the “realistic” setting for the in-camera shot, but I have actually gotten some pretty interesting results using some of the “art” settings.
After I did this I read an article about Lightroom now being able to handle 32-bit HDR files out of Photoshop. This one was 16-bit. I may go back and play with that to see what it does better.
I also think the third image is a little dark but I’m impressed with the way LR4 can pull detail from deep shadows. I normally shoot bracketed exposures but I seldom use the HDR plugin for them because I don’t find it necessary most of the time, I just use one exposure. I think that, if done well, you can still get decent contrast from an HDR process and not have too much “over the top” detail many folks like.
BTW, this is a really nice shot.
Thanks, Ken. I’ve been looking at this more and more and think I need to print it and see how it comes out.