A number of my non-photographer friends have asked me on numerous occasions why their photographs don’t look like my photographs. And of course the sentiment I hear most often is that “I must have a really great camera.” And I tell them, “of course I do, but I could make the photographs I make with just about any camera. It all has to do with how I take the photograph, and knowing what to do with it after I take it.”
Many people incorrectly attribute this answer to mean that I am “Photoshopping” my photos, but when they do, their impression is that that means something sinister or unethical. I try to explain that a lot of what I do is no different than what might have been done with film in a darkroom. I just don’t have to do it with chemicals, I do it with a computer.
This article is written primarily for me to be able to point my friends to something that explains, better than I could possibly do in the lunchroom at work or at dinner in a nice restaurant, what I mean when I say that I “develop” or “process” my photos in Lightroom. And hopefully some of my photographer friends will find this interesting and perhaps even informative.
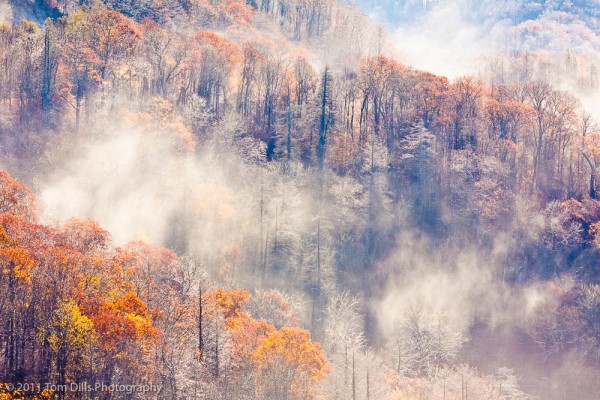
This photograph was taken in October 2011 on one of those rare times when the fall color was just about at peak, and an early morning snowstorm came through with just about perfect timing. An hour before this photo was taken I was sitting in my car in the parking lot at Clingman’s Dome, being buffeted by gale force winds when a snow plow driver stopped to tell me that I had better get started down because he was planning to lock the gate. I wisely retreated to a lower elevation and found this scene.
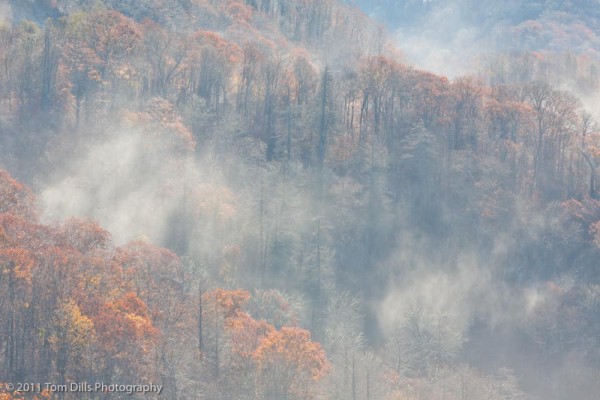
The scene in front of me was overall pretty dark and lacking in contrast, because even though the sun was lighting up the clouds the light was pretty diffused and the sun was not shining through all that brightly. I knew from experience that my camera would try to overexpose to bring the values closer to an average exposure. But I also knew that the snow and clouds were on the brighter end of the scale and would cause my camera to want to under underexpose the snow and clouds. I figured (correctly) that the two would just about balance each other out and made no adjustments to what the meter was reading. I confirmed the exposure with the histogram after the shot.
At the time I was pretty certain that I had captured some good photographs of a pretty amazing scene, but I also knew that a great deal of post-processing would be required to obtain a final image that looked like what I “saw” while I was standing at that overlook. When I got home and imported the files into the computer, the first thing I saw was this flat looking gray mess that some people might be tempted to toss. But I had a plan and went to work.

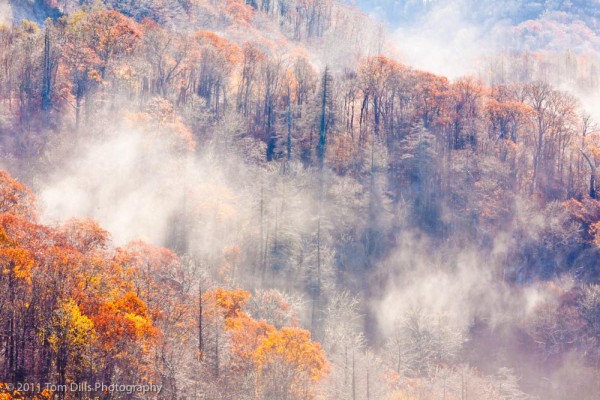
The first thing I did was to adjust the white balance to warm the scene up a little. My camera does a very good job with finding the “right” white balance, but I knew I was going to need to add some warmth to get the look I was after. About 500 points was plenty to get what I wanted. Next, I knew I needed to add a lot of contrast, since the snow and clouds made for a very low-contrast scene. I ended up adding a lot of black – about 70 points (this is Process Version 2010 in Lightroom – the new adjustment tools had not been invented yet!). Some adjustments to the mid-tones and highlights and I was starting to get somewhere!

My next step was to add some additional color contrast by using Split-toning to cool the shadows while keeping warmth in the highlights. This is pretty subtle but gives the scene a bit more vibrance.

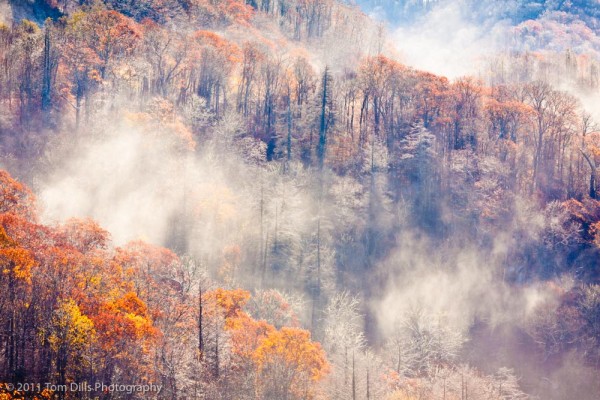
After a bunch of time spent cloning dust spots – the photo was shot at f22 – I was ready to move on to some fine tuning. I made extensive use of the Adjustment Brush to selectively darken and lighten specific areas of the photo, added some contrast and saturation to areas that needed it, and generally “shaped” the image to direct the viewer’s eye through the scene. A little vignetting to keep the viewer inside the frame, some tweaks to the capture sharpening and noise reduction and it’s done. Or done for now, as I haven’t yet tried to make a print of this photo. Doing that will undoubtedly require another round or two of adjustments once I see what it looks like on paper. I’d also like to experiment with this image using Process Version 2012 in Lightroom 4, but when I click the button to convert it the photo turns to crap again. So we’ll have to save that and printing for a future episode!


Great post, Tom. Lots of folks just have no idea what it takes to get from what the camera saw to what you saw. Sometimes, you can use it right out of the camera, other times, perhaps most, not. You have to tweak it to get exactly what you want. Thanks for sharing your process.
Thanks, Paul. It’s a part of the process I enjoy and hopefully a few folks learned a little bit about what goes on “behind the scenes.”
Ok…I’m so disillusioned now. I’ve seen behind the curtain and the Wizard isn’t real. 😉
Good job!
Oh, the wizard is very real, Earl. He just uses Photoshop! 🙂
(Sorry to be so slow with the replies to these posts. they sort of got lost in the shuffle of the last week or so. :()